 InterpolateEyes
Only in Wrap4D
InterpolateEyes processes the results of the FitEyesDirection node and provides two ways to handle closed eyes: manual and automatic. Using the manual method, the user specifies frame intervals where the eyes are closed and they need to be interpolated. Using the automatic method, the user gives access to facial detections, specifies an example with an open eye in the sequence, and also specifies a threshold for how much the eye must be closed relative to the example to be considered closed. In this case, the node will determine the frame ranges that can be corrected manually
Use Case
When processing eyes, the algorithm of FitEyesDirection node does not know how to rotate the closed eyes and gives out unpredictable rotations for the eyes. Also there are extreme or non-standard cases where the algorithm can work incorrectly and with open eyes. InterpolateEyes node was created to solve this problem.
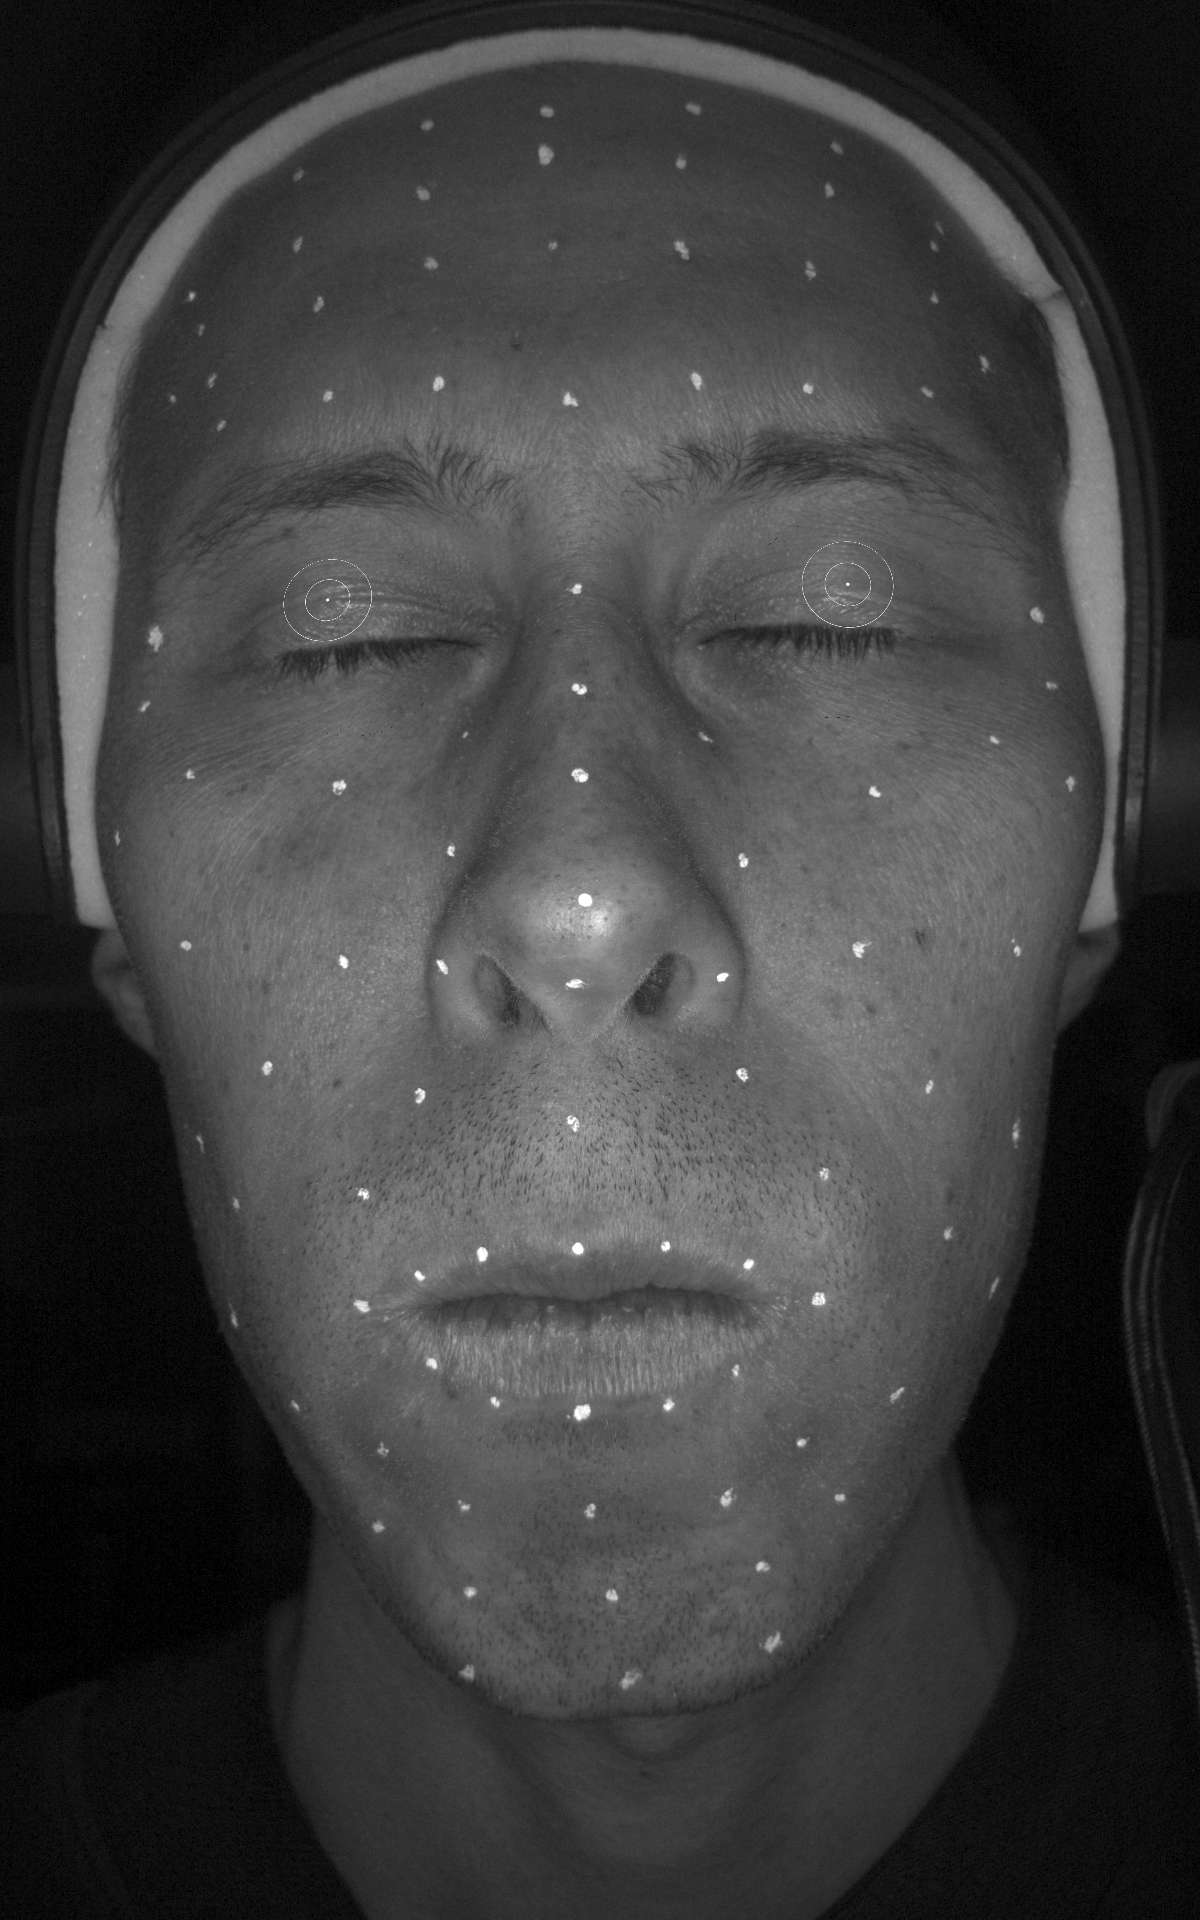
White circles on the image are the result positions of eyes irises and pupils.

Inputs
- Eye Geom
GeometryCentered eye geometry (if you use Visual Editor to check the rendered result, connect all transforms you used in input of FitEyesDirection node to centered eye geom)- Camera
Camera(optional) Undistorted cameras- Target Image
Images(optional) Undistorted image
Output
GeometryEye geometry with interpolated rotation transform. If this frame did not need to be interpolated, then the input Transform is returned.
Parameters
- Transform:
centered eye rotation transforms from FitEyesDirection node
- Frame Ranges:
specifies the frame intervals at which the node interpolates. For example, if you need to interpolate frames 10-20, 35-39 and 41, the entry will look like this:
10-20, 35-39, 41- Eye Type:
automatic mode parameter. Indicates the input eye type: Left or Right
- Detection:
automatic mode parameter. Path to detections used in FitEyesDirection node
- Reference Frame:
automatic mode parameter. Frame number containing an example of a well-opened eye. This frame will be used as a reference to determine the status of the eye (opened or closed)
- Closed Eye Threshold:
automatic mode parameter. Value between 0 and 1, indicates how much the eye must be closed relative to the reference to be considered closed
You can select Frame Ranges on the timeline, by using Editor buttons:
[ |
Set range start to the current frame |
] |
Set range end to the current frame |
< |
Jump to the previous range |
> |
Jump to the next range |
J |
Invert current frame |
K |
Invert current frame range |
Tip
Automatic Interpolation greatly simplifies the interpolation process and we strongly recommend to use it. Before Automatic Interpolation you need to select Reference Frame and Closed Eye Threshold, and after Automatic Interpolation check the result ranges and correct them if required. Use Visual Editor to check the rendered result
Tip
As a reference frame, you can choose:
a frame in which the eyes are open enough that they do not need to be interpolated, but more closed eyes need to be interpolated. Then you need to set the threshold to 1.
a frame with the eyes as open as possible. Then you will need to experiment with the threshold, and you can try 0.4.
Eyes positions after interpolation:
Key Frames
You can add keyframes to interpolate eyes between them. This is very useful when the actor’s eyes are closed for a long time and eye tracking cannot determine the rotation of the eye’s geometry.
To add a keyframe, you need to manually rotate the eye in the visual editor (when you click the mouse button, the eye will be rotated by the center of the pupil to the cursor). Next, you need to click the Add Keyframe button (or use the M hotkey). To remove the keyframe you need to click the Remove Keyframe button (or use the , hotkey). To remove all keyframes you need to click the Clear Keyframes button.
Note
Keyframes and Interpolation ranges interact with each other. For example, when you add a keyframe inside of interpolation range, the node will split this range into two ranges: from start of this range to keyframe and from keyframe to the end of the range. Also, when you remove the keyframe located between two ranges, the node will merge these ranges into new one. These rules also apply to adding and removing frame ranges.
U |
Jump to previous key frame |
I |
Jump to next next key frame |
N |
Add Keyframe |
M |
Remove keyframe |